How To Wall-Mount an Xbox Series X/S
A Step-by-Step Guide
For gamers looking to perfect their battlestation, wall-mounting your console can be a great solution. Securing the console to the wall allows you to free up desk or entertainment stand space. Plus, you have the option of either displaying the console in its wall mount bracket or hiding it behind your wall-mounted TV or monitor.
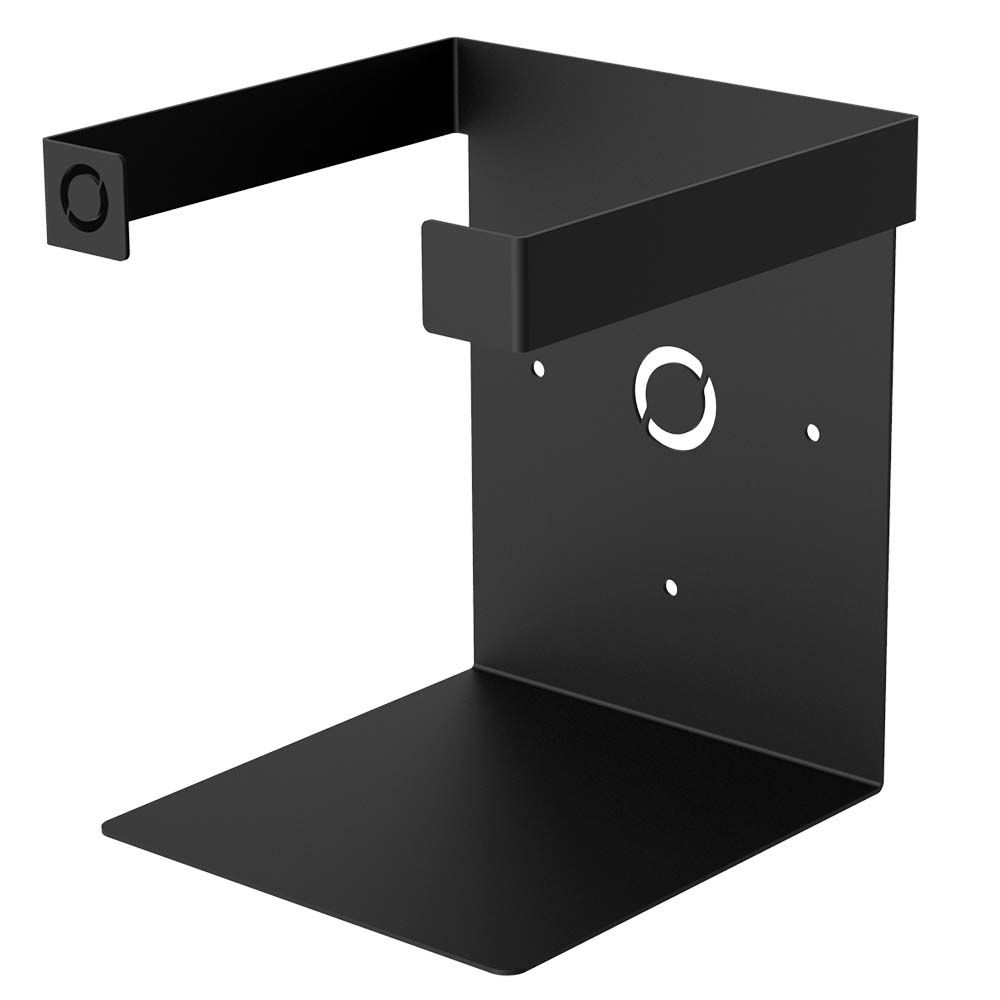
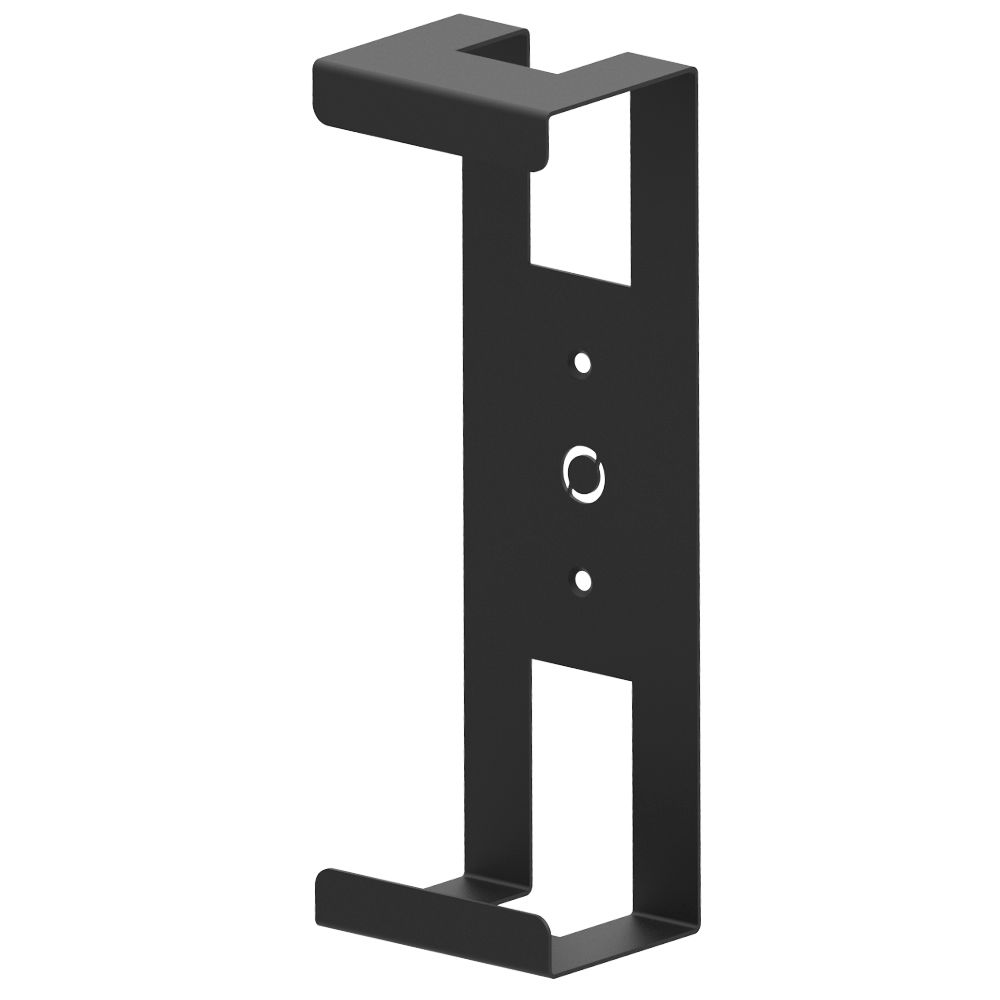
Oeveo's wall mounts for the Xbox Series S and Xbox Series X are manufactured in the United States with high-quality steel and finished with durable powder coat and foam bumpers to protect your Xbox. When installed properly, your Xbox will be beautifully displayed in the sleek bracket, and you'll have the peace of mind that it's mounted securely.
Xbox Series X and S mounts are easy to install - simply follow the directions below and refer to the video before you start marking your walls or drilling. If you have questions prior to installation, contact us and our customer service team will be happy to assist you.
Tools Required for Mount Installation:
- Pencil
- Stud Finder
- Level (optional)
- Drill (3/16 drill bit)
- Hammer or Mallet
- Included: wood anchors, #10 1 1/2 flat wood screws
How to Install the Xbox Series X/S Wall Mount:
- Locate a stud with a stud finder
- Series X: Line up the two center mounting holes with the wall stud, and using a pencil, trace all four hole points.
Series S: Line up the mount with the holes following the stud, making sure the mount is level. Draw a vertical line along the stud, and mark the hole locations as guides.
The use of a level is optional here, but this extra step will ensure the mount is perfectly level. - Drill pilot holes at the guide marks with a 3/16 drill bit.
- Insert the wood anchors using a hammer or mallet and make them flush with the wall.
- Attach the frocks to the inside top and bottom corner sections of the mount for padding.
- Secure the mount to the wall using the #10 1 1/2 flat wood screws.
- Insert the console into the mount and plug in your power, HDMI, and other cables. Optional: use cable ties or a cable sleeve to neatly guide your wires.

